Wednesday, February 25, 2015

Double Exposed Portraits

Portrait photography is a picture of someone or a group of people that displays expression or mood. Usually the picture is focused on the persons head but it may have the persons body and a background image included. A profile is an outline of something, usually a persons face. Portrait and profile are similar because they both are of people, while one is of the side of the face and the other is of the whole face. Silhouetting is a picture of a person or an animal but it is only in one color. All these are very similar and yet so different, for example silhouetting is of a person but only in one color, a portrait is of a person or group of people showing mood or expression and profile is of the side of a persons face.

Double exposures are created in Photoshop by taking three images, two landscapes and one profile image. Once you have your images you take your profile image and bring it to the front of all your pictures, then take the dodge tool. What the Dodge Tool is is it lightens the image. You use the dodge tool to the make all the areas around your face completely white. Also the burn tool can darken the image (not an important fact but just good to know). The white space is called the negative space. Next you take all of your images, double click them and click screen mode. This will make all of your images see-through. Then (this is the fun part) you just mess around with adjustment layers make it look really colorful and beautiful or dark and depressing, or just explain who you are! Personally I liked the double exposed profile rather than the multi exposed profile because you get to be more abstract.

Multi Exposed
Personally my quality of work could have improved by a landslide. You can't very well see my second image and that second image is discolored! The second image I am talking about is not the shoe, but is the brownie mix. It was a very very difficult task to try to make the brownie mix visible because it is only one color and you really can only see the bubbles. These images represent me because I like running (that's the shoe) and I love cooking (the dreaded brownie mix). Also I was supposed to take a picture of the opposite side of my face yet somehow it turned up as the same side I was facing with my double. Wonder how that happened? I swore that was the opposite side of my face, oh well (Maybe my teacher wont notice, sssssshhhhhhh don't tell him). Anyway Here are my double and multi exposed portraits:
Double Exposed

Here is some pictures to help guide you:

Monday, February 9, 2015

HDR Photography

An HDR photograph, or High Dynamic Range photograph, is the exposure compensation in a picture or how light or dark an image is. HDR photography is used to have that perfect look in photos, or the right exposure compensation. We do this by going into photoshop and clicking merge to HDR then you can customize the final photo. Merge to HDR in photoshop attempts to align all your images up and combine all your images exposure compensation so you get that perfect looking picture. You can customize the photo by changing the saturation, gamma, radius and much more. I like the look of the afterward effects in the Merge To HDR in Photoshop. I did two experiments, which are pictures of people, one landscape and one superimpose. Now here are my all of my finished photos:
Experiment 1

Landscape

What you do to create an HDR photo step by step is you take your photos. Then you put your photos in Photoshop and click file, Merge to HDR Pro. Once you have done that wait for it to render in, this may take a while depending on how big or small your pictures are. Then once your pictures have loaded in you can play around with the highlight, exposure, saturation and many more things. Beware the ghosts and ghouls though. No I'm kidding but seriously, if anything moved in your photo you will have ghosts. Don't be haunted by ghosts!

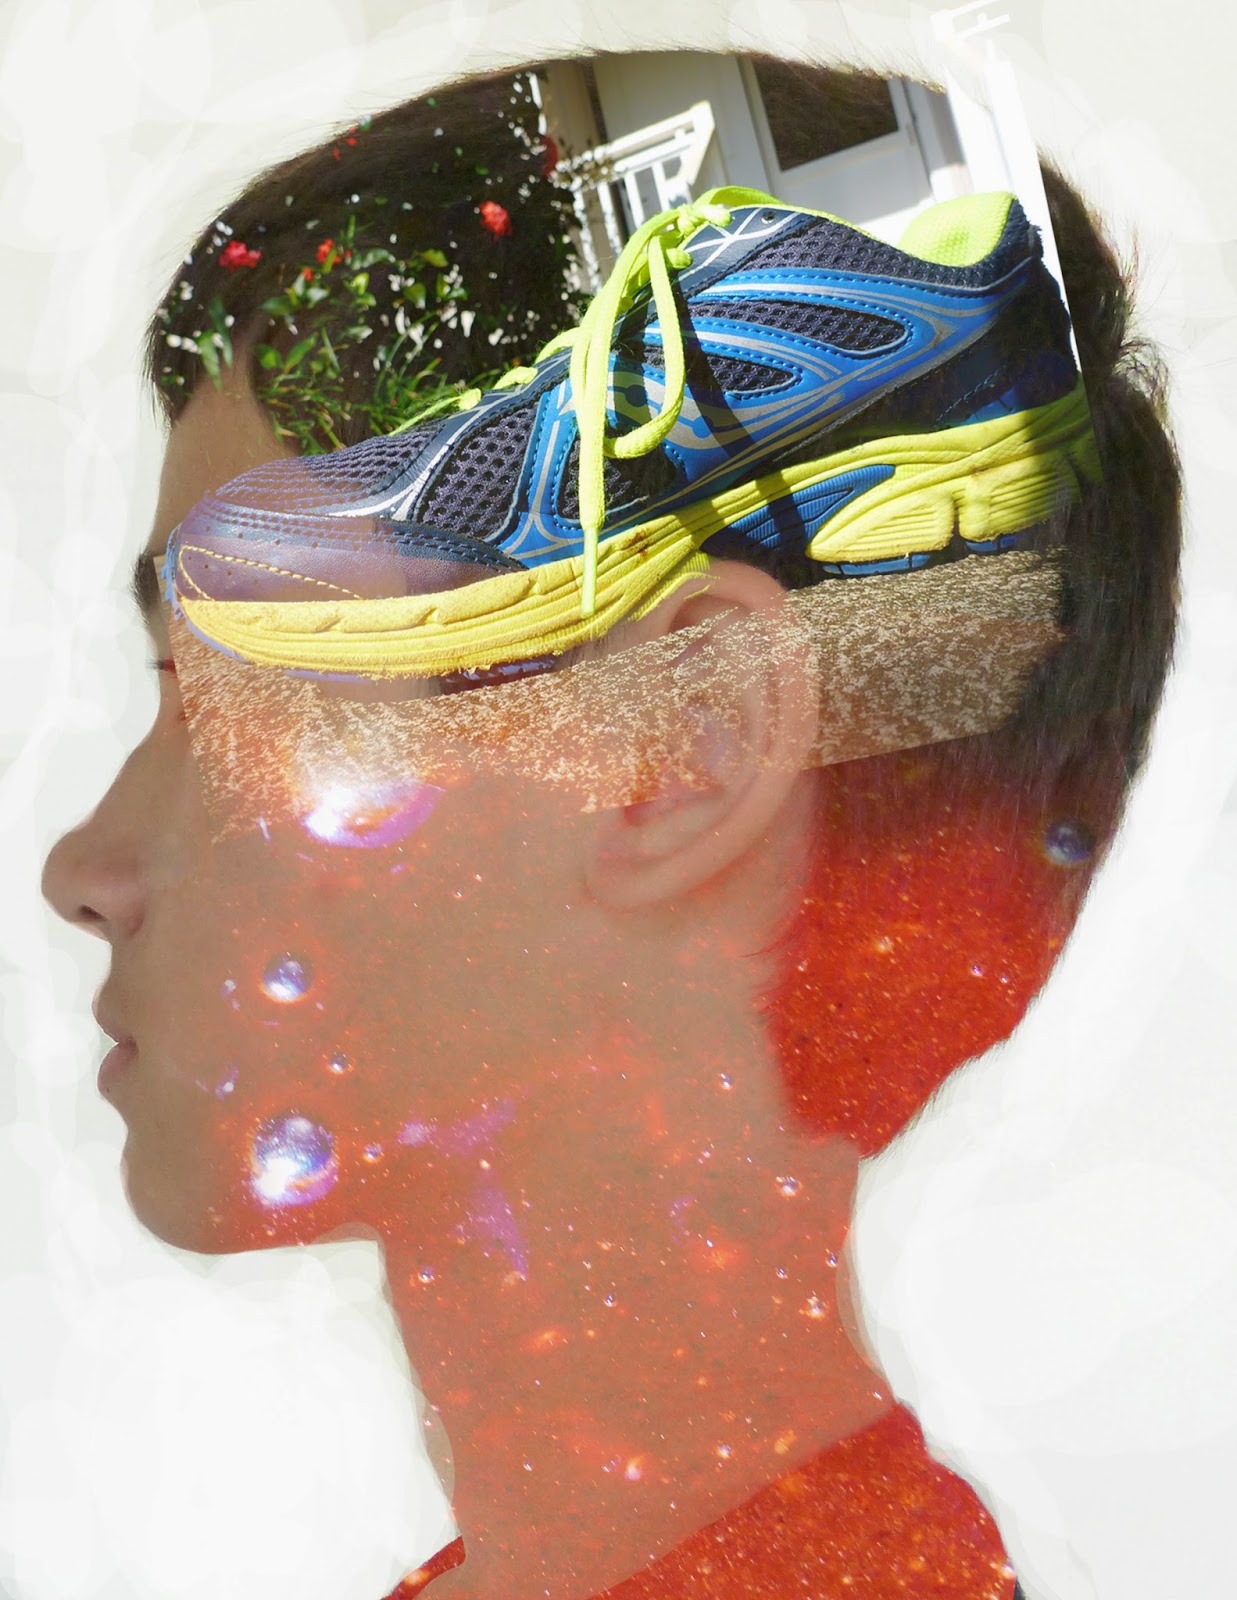
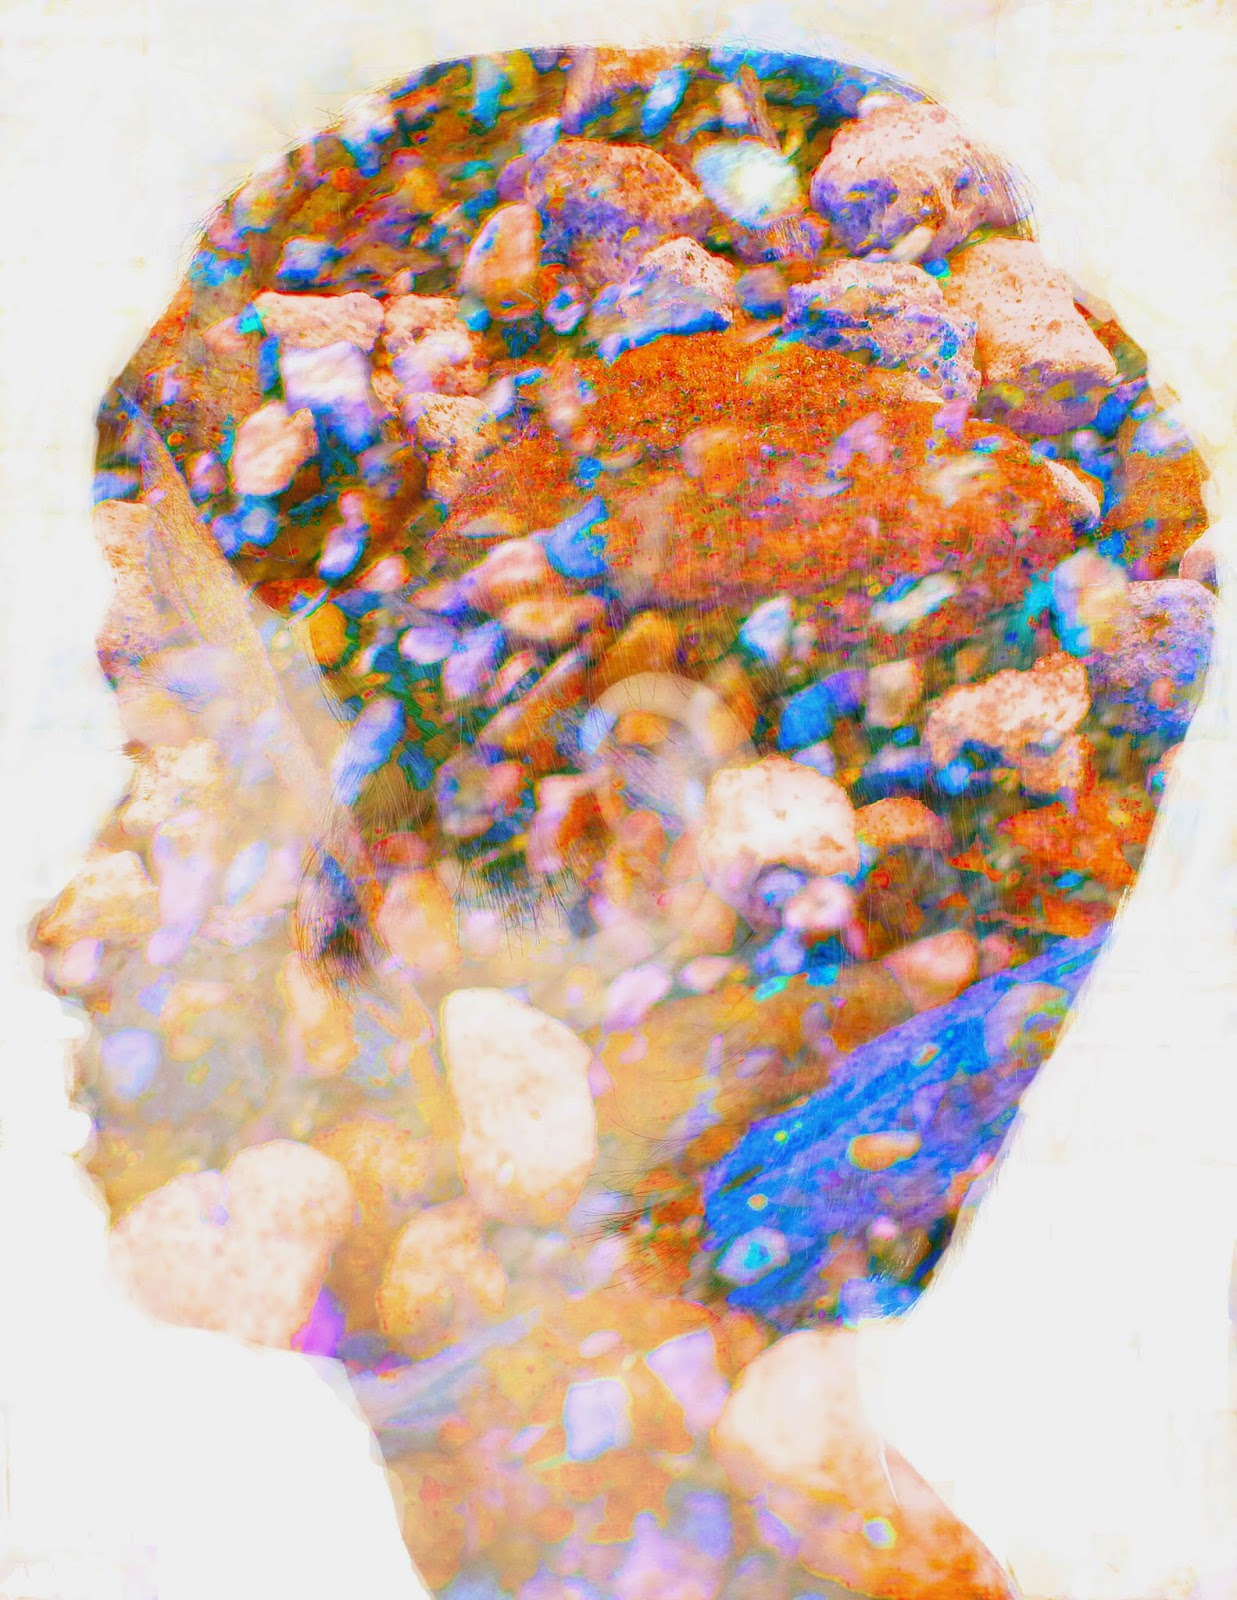
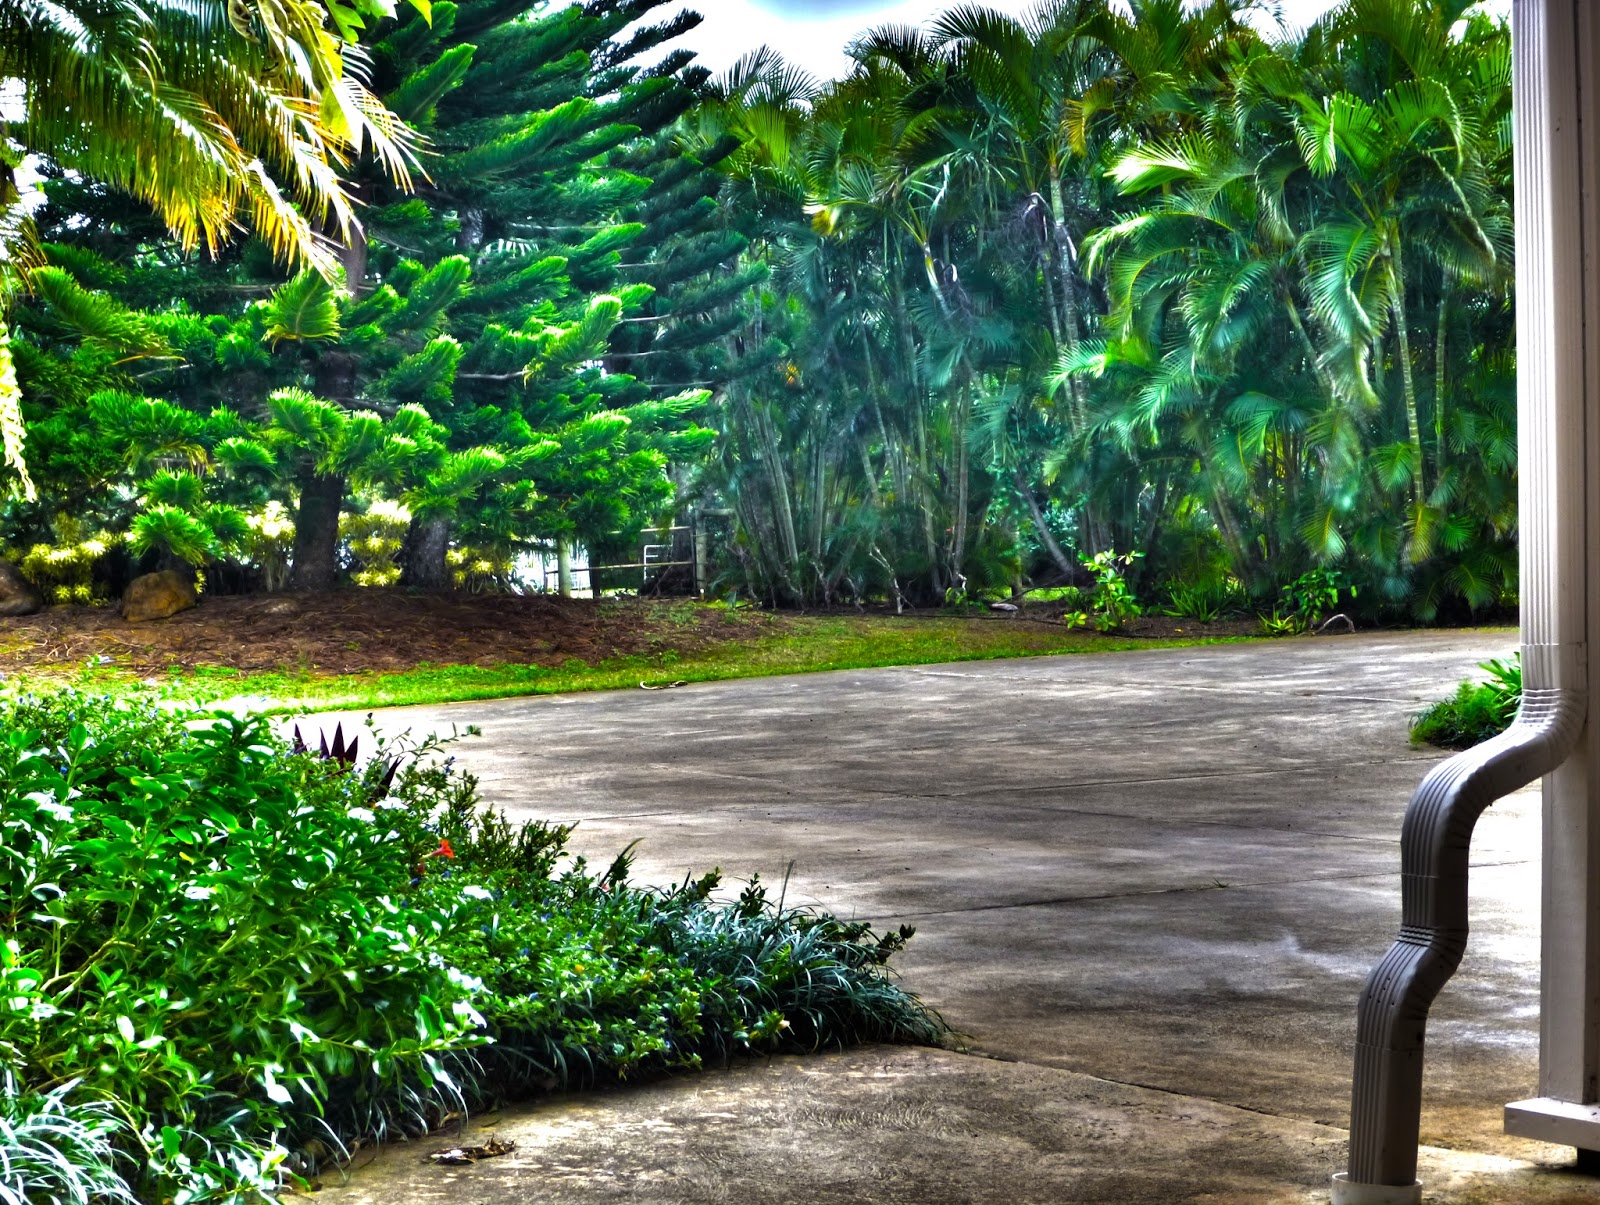
The thought that went into my superimpose, landscape and experiments was "hmm I want something unique and something colorful." So in my first experiment I did just that, colorful and unique. The reason I didn't use the first experiment was first of all because it got a three out of four out and secondly because on my superimpose it wouldn't work. Our teacher said that you can only have the person incorporated in the photo, and that would mean floating legs and weird hands. The step by step process that went into my pictures was that I want the rule of thirds, so I got my sister to get her eyes into the rule of thirds then I accidentally took a 
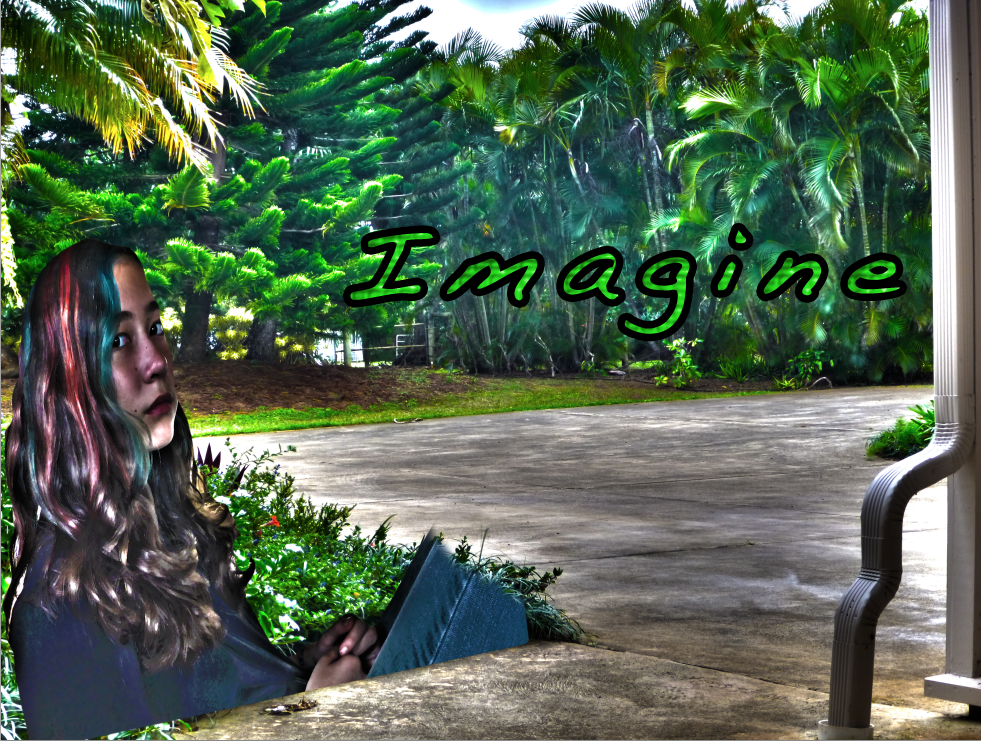
profile of her, and that is why I believe I got a three rather than a four on that project. The process behind the landscape was, that I wanted to do something different, so instead of grass I put concrete. On the landscape I forgot to put in rule of thirds though yet somehow rule of thirds found its way into m photo, happy accident.